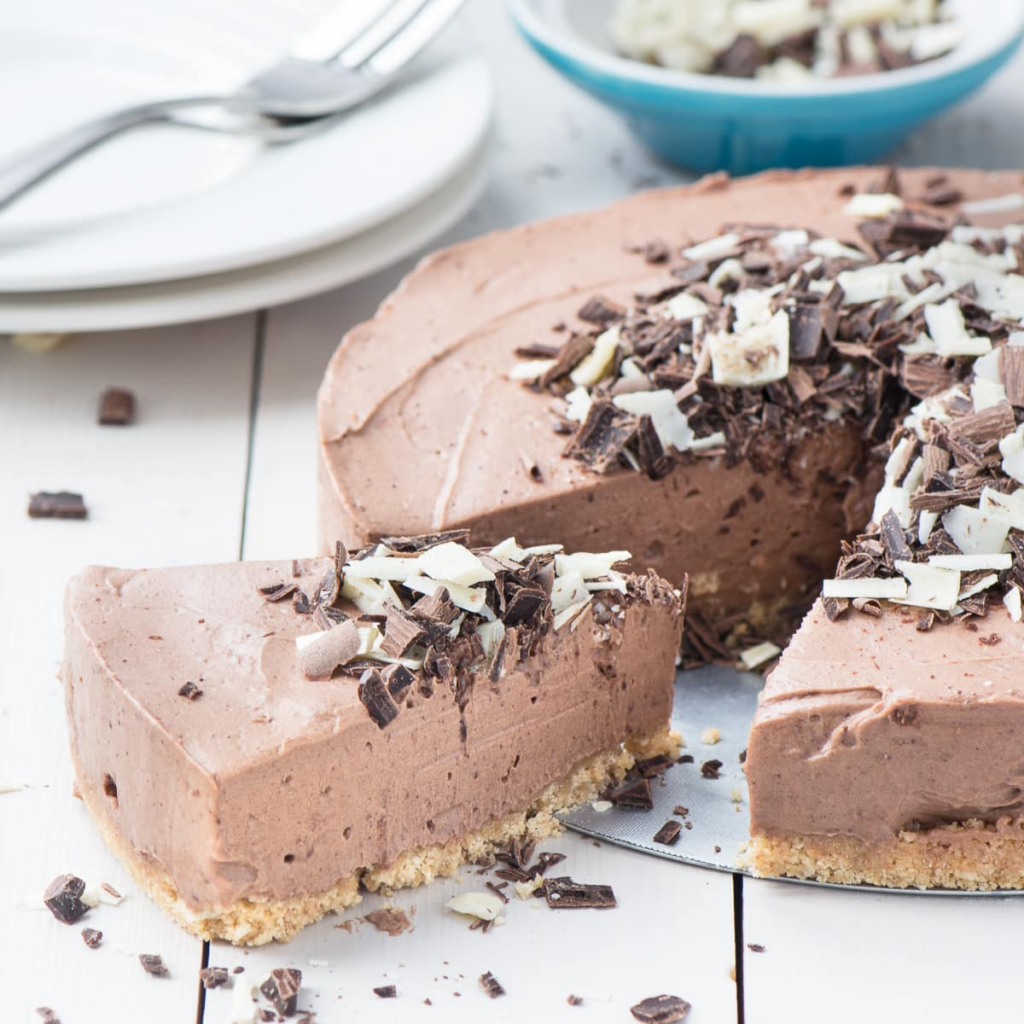
Do you have a sweet tooth? Or do you just really fancy making a good dessert? Maybe you’re making this cheesecake for a family gathering, and you want to impress everyone. Or your friends are coming over for dinner and you thought you should treat them to a delicious dessert. Maybe it’s a date night, a party, or your just really in the mood for this delicious cake! No matter what event you have planned, this chocolate cheesecake could beat every other dessert!
It is easy to make, with such little equipment, ingredients, skills, and time. It takes 3o minutes, but only half of this involves making the cake! So if you are busy making another course, or doing something else, again, this dessert is perfect!
Ingredients for chocolate cheesecake
As I mentioned before, you need very little few ingredients, even though it is bursting with flavour!
For the base, all you will need is;
- 8 chocolate digestive biscuits
- 50g of margarine
for the filling of the delicious desert;
- 5 x 15ml of double cream
- 2 x 15ml of caster sugar
- one-half packet of cream cheese
- 5ml of cocoa powder!
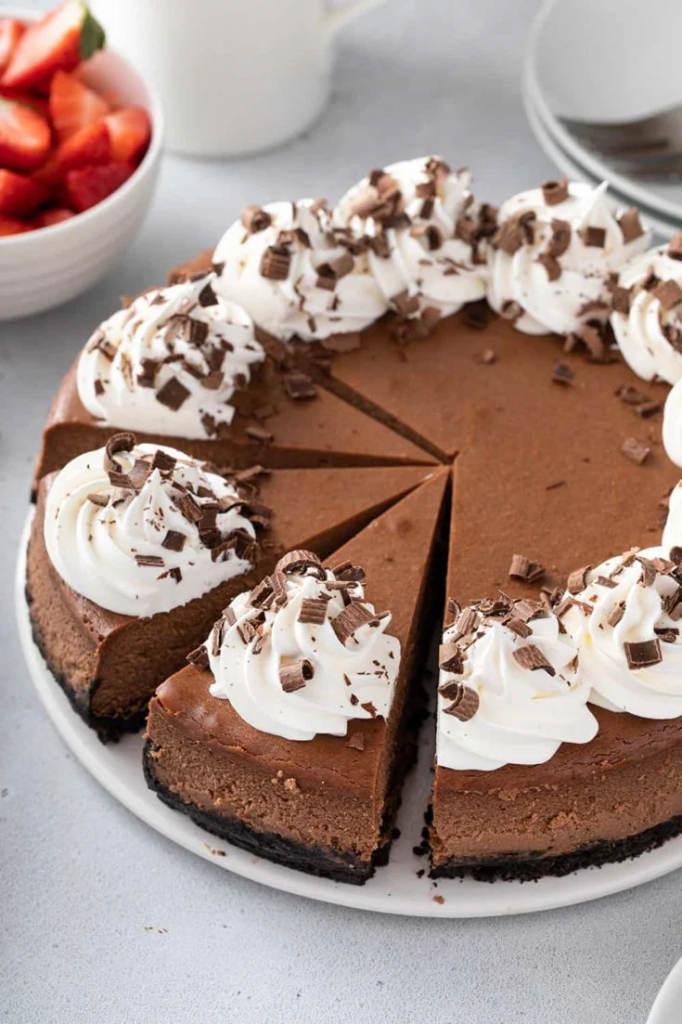
Now we will be decorating it, but that is completely up to you! Although I do recommend a bit of whipped cream and grated chocolate!
Chocolate cheesecake method
To start, deal with your hygiene! Tie your hair back, make sure your counter is clean, wash your hands and get ready to start cooking! Start by getting your digestive biscuits and putting them in a sealable fridge bag! Get a rolling pin, make sure the bag is sealed properly, and start bashing the biscuits! Bah up your biscuits with the end of your rolling pin, until they go as fine as possible, like bread crumbs! If you don’t have resealable bags, just carefully do it in a bowl!
Once all your biscuits are crushed up into fine breadcrumbs, it is time to prepare your butter. Weigh out all 50 grams of margarine and put it into a small pot, ad turn on your hob at low to medium heat. Pop your pot on the heat, and stir your butter continuedly with a wooden spoon or wooden spatula, until it is all melted and there are no lumps. Make sure it doesn’t start to go brown and sticky, so just take it off the heat when it is at a golden, runny consistency.
Once it is all melted, pour your biscuit crumbs into the small pot along inside the butter, and stir it through until the crumbs are coated in the butter, have darkened in colour and are looking a bit moister. If you feel like you need any more butter, it is your judgement and you can! But remember it shouldn’t be runny, you should not see any butter at all!

Once you have done that, grab a flan ring, or a cake tin! Slowly add in your base to the ring, and press firmly into the side of the ring, leading up the edges but not to the top. Press it all firmly to make sure there are no loose crumbs, and then place it to set in the fridge for around 10 minutes.
Now it is up to you, but you can either leave the base to cool whilst you get some other things done, or you can make the filling whilst it is cooling!
Let’s get started on the filling!

Chocolate cheesecake filling
As I mentioned earlier, for the filling you will need 5 x 15ml of double cream, 2 x 15ml of caster sugar, half a packet of cream cheese and 5ml of cocoa powder!
In a large bowl, add in all of your double cream, all of your caster sugar, all of the cream cheese and all of the cocoa powder. Get either a whisk, fork or an electric whisk, because it is time to start whisking. Whisk your mixture slowly and carefully, until it becomes light and fluffy. It should take about 6 or 7 minutes to do this.
You need to be very careful that you do not over-whisk it though since that is very easy and it just starts to become runny and gloopy, a glue-like texture, which would ruin the cheesecake. Make sure it is light and fluffy before putting your whisk to the side.
If you feel like it would be better for you, you can leave out the cocoa powder until this stage and then add it into the light and fluffy mixture, but that is just if you feel it would be easier, it makes no difference to the taste!
Pour the mixture over your chilled biscuit base, spreading it evenly along the top. To make sure it is all even, place the ring back in the fridge to set for around another 15/20 minutes. While you are waiting on the tasty chocolate cheesecake to set, you can cook the main meal to go with this delicious dessert, if you would like to see a recipe for an amazing tomato and sweet potato soup, click here! Again, it is super easy to make and is ready in such a short amount of time!
At this point, I recommend doing the dishes, since all we will need is a plate, grater, and equipment for any other toppings you would like to add! You could even make some whipped cream, if you would like a recipe for that, just click here! Pop that into a piping bag, and great some chocolate onto a small plate! Once the cheesecake is out of the fridge, we will decorate it!
Take your cheesecake out of the fridge when it is looking quite ready. Get your toppings and decorations, I will be using whipped cream and grated chocolate. Get the cream in a piping back, and pipe small blobs along the side, going round the circle, until you meet the first one again! You can do one in the middle of your cheesecake if you would like! Once you have piped, just sprinkle the grated chocolate over the top!
If you wish, you can pop your cheesecake back in the fridge to help it set even more, but if not, your cheesecake is finished! It is now ready to eat and enjoy!

